The tiles are the core of the Green Box game system. The fundamental idea is to devise a system for creating board games, so there has to be a way to create games with boards. To enable the creation of a multitude of different games, we could obviously not include fixed boards, so the primary function of the tiles is to enable the creation of many different boards.
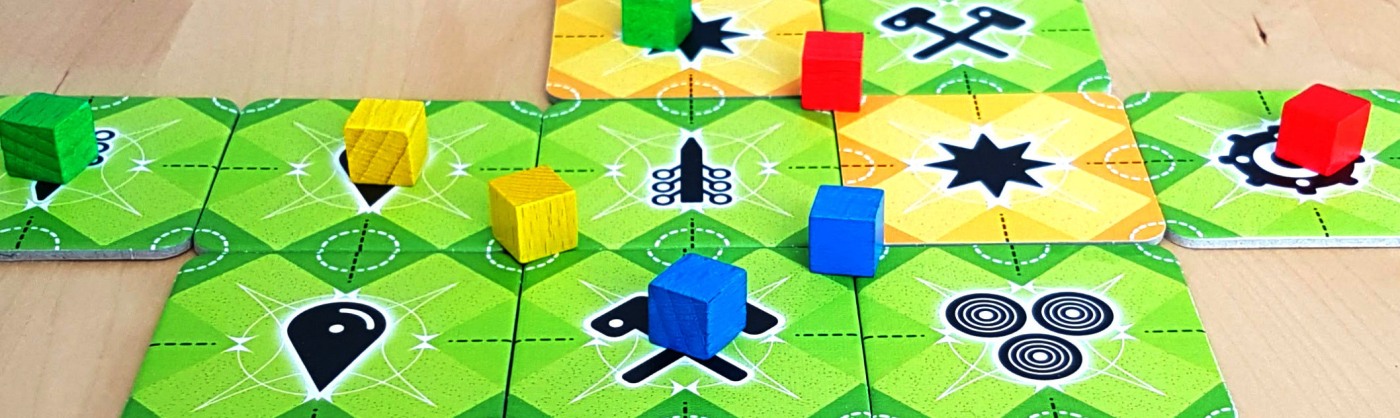
The tiles have a face or front side with one of the six symbols used in the game, and a back side featuring a simple dot. The back sides are all equal, allowing the symbol side to be shuffled and randomised if the current game you are playing requires this. The two sides, however, are fully compatible in that they can both be used together in creating different boards. So you are not limited to building either a front side board or a back side board, you can mix and match to fit the design of your game.
Obviously, there’s no need for complex instructions on how to put the tiles next to each other to form a grid, and with 36 tiles you can make any grid up to 6×6, or 4×9 or any such combination.
However, the tiles are designed to allow larger grids as well, by counting each tile as a separate 2×2 grid. There are no gridlines on the tiles, but the center mark and the border markings make it easy to discern the boundaries between these smaller grid squares. This means you can build anything up to a 12×12 grid using the 36 tiles.

Using the 2×2 grid on each tile, the grids you build are limited to even numbers, e.g. 8×8 and 10×10. Some games however, like Go, use grids with odd numbers, allowing boards with a center point. To create anything larger than 5×5 with odd numbers you need to place pieces not in the squares of the grid, but on the intersections. That is, on the center of the tile or on the points created by the border markings when the tiles are put together. Using this method you can create any odd grid up to 13×13, as long as you allow play on the outer rim.
So why not just draw gridlines on the tiles? There are a couple of reasons for this. First, it is to allow nice looking boards where you consider each tile to be only one square, and not 2×2. Second, it allows greater visual compatibility between the front and the back sides, as the grid lines would not look so nice on the symbol side. Third, and perhaps most important, it allows the tiles to be used to create hexagonal boards as well as square, which we’ll cover in a separate post.
 Visit the Green Box Community Wiki on Fandom.com
3 Pingback